

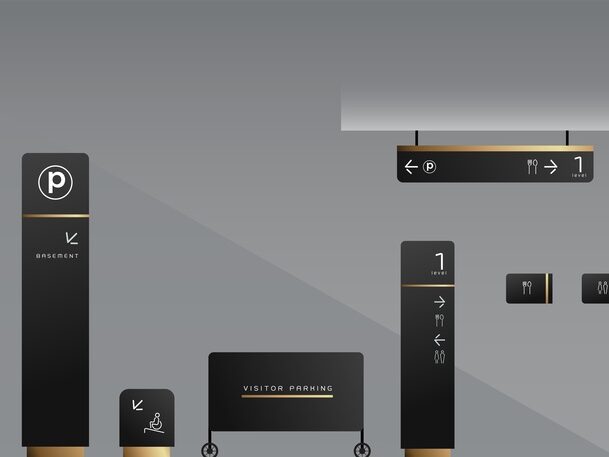
Custom signs are everywhere — from eye-catching shopfronts to elegant office plaques and bold event banners. But have you ever wondered what it takes to bring a sign from an idea to a finished piece installed on-site? In this behind-the-scenes look, we’ll walk you through the creative, technical, and hands-on processes involved in designing, fabricating, and installing custom signs.
1. The Design Phase: Turning Ideas Into Concepts
Every great sign begins with a conversation. Designers work closely with clients to understand the brand, location, message, and aesthetic preferences. This initial consultation helps determine the purpose of the sign — whether it's directional, promotional, or simply decorative.
Once the brief is clear, designers begin crafting visuals using graphic design software. Considerations include:
- Typography and legibility: Fonts must be easy to read from the intended viewing distance.
- Colour schemes: These are chosen for brand consistency and visibility.
- Materials: Whether it's acrylic, metal, wood, or LED, the material choice influences the design.
- Placement: Indoor vs outdoor placement affects everything from size to durability needs.
Before moving on, digital mock-ups and 3D renderings are usually created and shared for client approval.
2. Fabrication: Where Design Meets Craftsmanship
With the design finalised, the project moves to fabrication — the production phase where the concept becomes a physical object.
This stage involves a combination of traditional craftsmanship and modern technology. Depending on the complexity of the sign, several processes may be involved:
- Cutting and shaping: CNC routers, laser cutters, or waterjet machines are used to precision-cut materials.
- Painting and finishing: Colours are applied either through spray painting, powder coating, or vinyl wrapping.
- Illumination: For signs that light up, LED modules and electrical components are installed.
- Assembly: The different parts are assembled, and quality checks are carried out to ensure durability and visual appeal.
This phase is where material knowledge, engineering know-how, and attention to detail really come into play.
3. Installation: The Final Reveal
Once the sign is built and thoroughly inspected, it’s time for installation — arguably the most visible and impactful part of the process.
Installers handle logistics such as transport, permits (if required), and site safety. The installation itself can vary greatly depending on the type and size of the sign:
- Wall-mounted signs require secure brackets and fasteners.
- Freestanding signs often involve groundwork, including foundations.
- Digital displays need electrical connections and sometimes Wi-Fi setup.
Installers work quickly but precisely, ensuring the sign is level, secure, and functional — all while minimising disruption to the business or public.
The Importance of Collaboration
Behind every sign is a team — designers, engineers, fabricators, and installers — all collaborating to bring a client’s vision to life. Each stage of the process is crucial, and delays or mistakes at one point can affect the entire project. That’s why communication and quality control are key from start to finish.
Final Thoughts
Custom signs are more than just decorative elements; they are strategic tools that convey identity, guide people, and attract attention. Understanding the work behind the scenes gives new appreciation for the creativity and craftsmanship involved.
So next time you spot a striking sign outside a café or a sleek logo panel in a corporate lobby, remember the journey it took to get there — from sketchpad to skyline.